Segunda Pierna de Clon de Robot DARwIn-OP

Hacer la primera pierna para mi clon del robot DARwIn-OP fue bastante trabajo, especialmente en medir los modelos 2D, luego descartarlos y retomar los modelos 3D para trasladarlos a G-code, además de probar formas más eficientes de trabajar con la fresadora.

Ahora, cortar la segunda pierna fue mucho más fácil.
Second Leg Frames
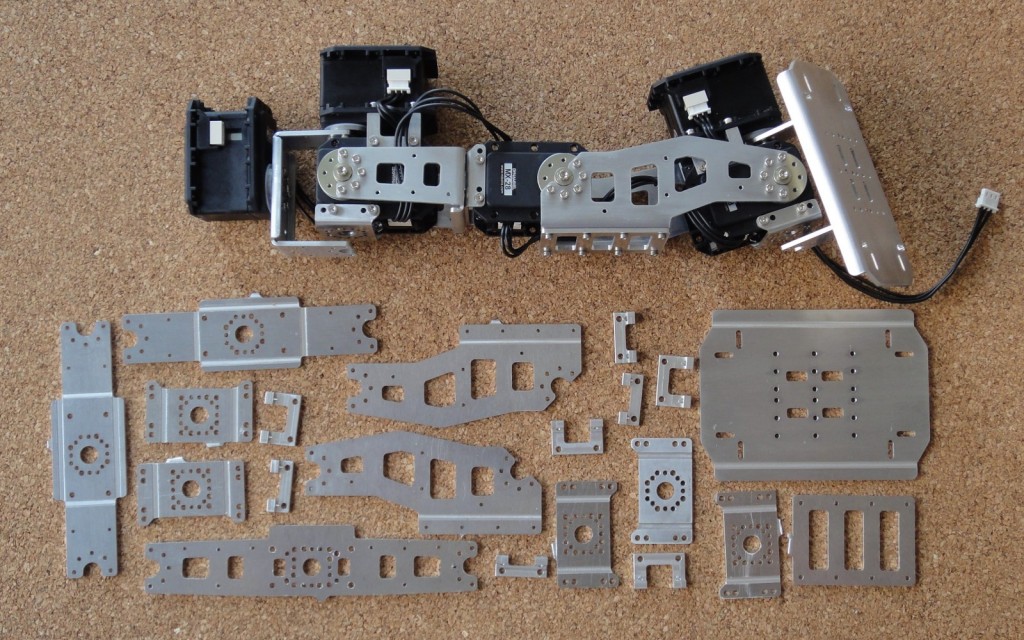
Piezas de la segunda pierna

Cambié la pieza de de la ‘rodilla’, mi primera versión tenía un doblez en la parte baja, pero lo eliminé del diseño para permitir que mi clon de DARwIn-OP tenga el mismo rango de movimiento en las articulaciones que el robot original. También, mi primera tanda de piezas FR07-S101 tenían 4 agujeros faltantes (se ve en la foto, por suerte no son usados en el robot DARwIn-OP).

Todavía tengo que limar y doblar las piezas, pero primero voy a tratar de hacer algunos bloques de aluminio que me ayuden con el doblado, el  Manual de Fabricación muestra ejemplos de esto en el apéndice.

Mientras tanto, voy a comprar unas barras de aluminio 6061 de 1″ y 3/8″ para tornear las piezas FR07-F101, HN07-i101 y RX28-CAP. También tengo que calibrar las cuchillas de cambio rápido de mi torno, lo que toma tiempo, pero una vez hecho, permite cortar diseños complejos bastante fácilmente, haré un post de esto más adelante.

Working on Second Leg for DARwIn-OP Robot Clone

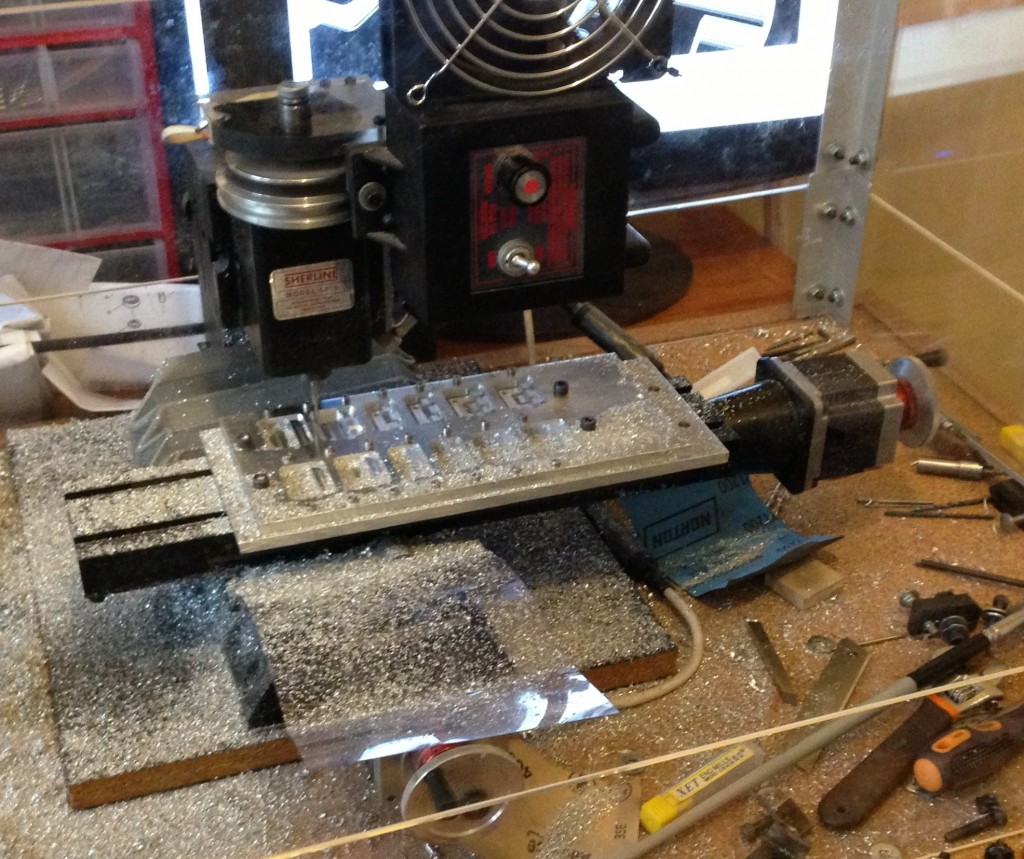
Doing the first leg for my DARwIn-OP robot clone was a lot of effort, specially in measuring the 2D model files, then the 3D model files, translating to G-code, and testing more efficient ways to work with the mill.

Now, cutting the second leg was much easier.

Second Leg Frames
Second Leg Frames

I changed the ‘knee’ frame, my first version had a bending at the bottom, but I removed it from the design to allow my DARwIn-OP clone to have the same joint rotation range than the original design. Also, my first batch of FR07-S101 had 4 holes missing (luckily they are not used in the DARwIn-OP robot).

I still have to file and bend the frames, I’ll try to make some aluminum blocks to help on the bending. The Fabrication Manual show some examples in the appendix.

Meanwhile I am getting some 1″ and 3/8″ 6061 aluminum bars to make the FR07-F101, HN07-i101, and RX28-CAP parts in the lathe. I also have to calibrate my lathe’s quick-change cutters which is time consuming. Once done, cutting complex designs gets much easier, I’ll do a post in this later.

Prueba de Pierna – Clon de DARwIn-OP

Corté el resto de las piezas para la primera pierna de mi clon de DARwIn-OP. No hubo mayores temas, sólo el modelo 2D de la pieza FR07-H132 tenía el patrón de agujeros al revés (ver este post de corte).

Todavía me faltan algunas piezas que se deben cortar en torno (y no he recibido los rodamientos aún). De todas maneras quería ver cómo se mueve la pierna así que hice un pequeño programa de prueba.

Usé un computador ODROID-X2 de HardKernel. Es una placa ARM con estas especificaciones:
– Quad core Cortex-A9 a 1,7GHz.
– 2GB RAM.
– USB 2.0 y Ethernet de 100Mbps.
– Corre Android o Ubuntu.
– Puede usar un SD o un módulo eMMC (8 to 64GB) como disco duro.
– Tamaño de 94x90mm.

Continue reading “Prueba de Pierna – Clon de DARwIn-OP”

DARwIn-OP Clone Leg Test

I cut the rest of the frames for the first leg of my DARwIn-OP clone.
No mayor issues, just the FR07-H132 2D model file had the hole pattern flipped over as I suspected (see the test cut post).

I still have missing the parts to be cut with the lathe (and I haven’t receive the ball bearings yet). Anyway I wanted to see the leg moving so I programmed a small test.

I used an ODROID-X2 board from HardKernel. It is an ARM with this specs:
– Quad core Cortex-A9 at 1.7GHz.
– 2GB RAM.
– USB 2.0 and 100Mbps Ethernet.
– Runs Android or Ubuntu.
– Can use an SD or a eMMC module (8 to 64GB) as hard drive.
– 94x90mm board.

Continue reading “DARwIn-OP Clone Leg Test”

Pierna de Clon de DARwIn-OP

Ahora que revisé que los servos Dynamixel MX-28T funcionan y que es fácil desarrollar con el SDK, voy a continuar con el resto de la primera pierna de mi clón de DARwIn-OP.

Las piezas FR07_X101 y FR07_X102 son conectores de actuadores, ensamblan 2 servos para formar una articulación con 2 grados de libertad. El DARwIn-OP requiere 4 FR07_X101 y 8 FR07_X102. Según los archivos de modelo and el PDF de especificación de Robotis, son de 4,8mm de alto. Yo usé una plancha de 1/4″ como recomienda el Manual de Fabricación, pero una plancha de 5mm sería mejor (requiere fresar menos material).

4 FR07_X101 and 8 FR07_X102 Cut
Corte de 4 FR07_X101 y 8 FR07_X102

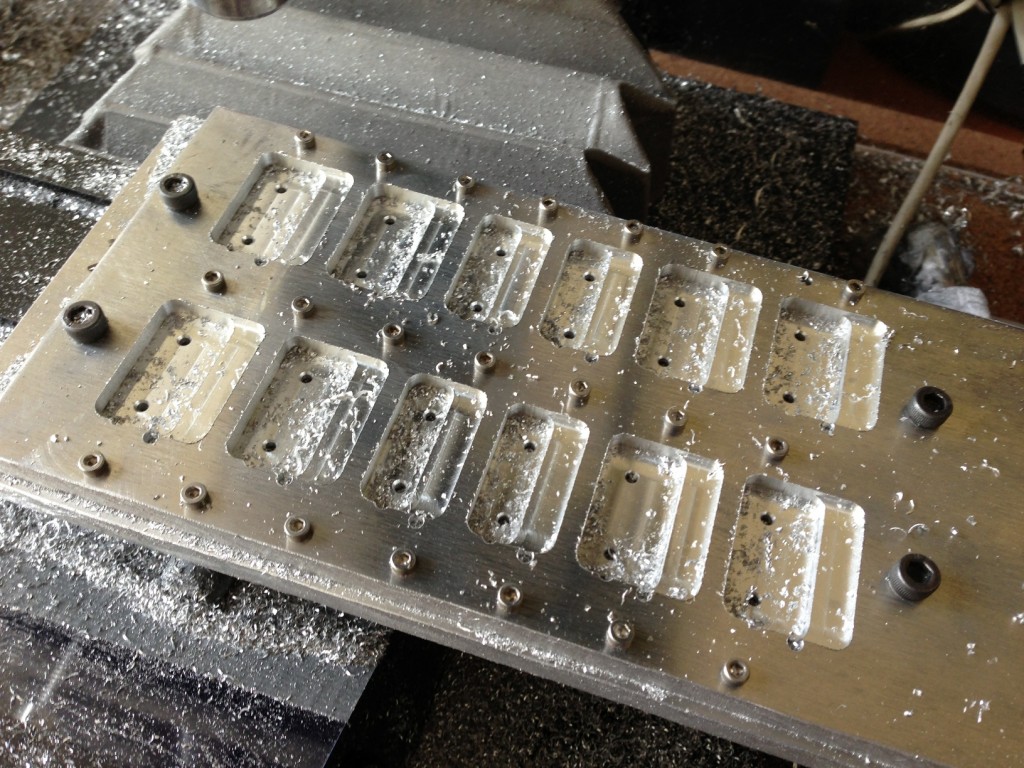
En este corte comencé a utilizar una plancha de aluminio como base. También usé filas de pernos de 2,5mm para sujetar mejor el trabajo. Esto no es necesario para sujetar una plancha de 1/4″, pero las planchas de 1,5mm y 2mm se doblan fácil y espacios muy ajustados entre piezas o en los bordes puede distorsionar los cortes.

Aluminum Plate and extra screws used
Placa Base de Aluminio y Pernos extra

Continue reading “Pierna de Clon de DARwIn-OP”

DARwIn-OP Clone Lower Leg

Now that I checked that the Dynamixel MX-28T servos work OK and that it is easy to develop with the SDK, I am continuing with the rest of the first leg of my DARwIn-OP clone robot.

The FR07_X101 and FR07_X102 are actuator connectors for the legs and shoulders, they assemble together 2 servos to make a joint with two degrees of freedom. The DARwIn-OP requires 4 FR07_X101 and 8 FR07_X102. Acording to the design files and PDF specification from Robotis, they are 4.8mm high. I used a 1/4″ sheet as recommended in the Fabrication Manual, but a 5mm sheet should be better (less material to mill).

4 FR07_X101 and 8 FR07_X102 Cut

In this cut I started using an aluminum plate as base. I also started using rows of 2.5mm screws to better hold the work. This is not really needed to hold a 1/4″ sheet, but the 1.5mm and 2mm bend easily and small clearances between parts or to the sides may distort the cuts.

Aluminum Plate and extra screws used

Continue reading “DARwIn-OP Clone Lower Leg”

Probando el DSK de Dynamixel

Mientras sigo fresando las piezas para mi clon de DARwIn-OP (después vuelvo con esto), decidí probar el SDK para Dynamixel en un PC con Linux Ubuntu 12.04. Como me interesa usar el adaptador USB2AX para controlar los servos (por su tamaño), hice una instalación simple:

  • Decomprimí el Zip del SDK en una carpeta nueva.
  • Como indica el FAQ USB2AX, reemplacé el archivo DXL_SDK_LINUX_v1_01/src/dxl_hal.c del SDK con esta versión que se comunica correctamente con el adaptador USB2AX.
  • Corrí make en la carpeta DXL_SDK_LINUX_v1_01/src para compilar las librerías.
  • Corrí make en la carpeta DXL_SDK_LINUX_v1_01/example/ReadWrite para compilar un test de ejemplo simple.
  • Conecté un servo Dynamixel MX-28T con ID 1 y Baud Rate en 1 mbps al PC vía el adaptador USB2AX (el adaptador USB2AX sólo se comunica a 1 mbps y el ejemplo ReadWrite espera al servo con ID 1 a 1 mbps).
  • Agregué a mi usuario linux al grupo dailout para tener acceso RW al dispositivo del USB2AX (/dev/ttyACM*).
  • Corrí el ejemplo ReadWrite y funcionó!

El código fuente C del ejemplo ReadWrite es bien corto y muestra un uso simple de las APIs.

Testing the Dynamixel SDK

While I am working on milling the leg’s frames for my DARwIn-OP clone (I’ll come later on this), I decided to test the Dynamixel SDK for Linux on a PC with Ubuntu 12.04. Since I am interested in using the smaller USB2AX adapter to control the servos, I did a simple install:

  • I unzipped the SDK Zip file to a new folder.
  • As instructed in the USB2AX FAQ page, I replaced the DXL_SDK_LINUX_v1_01/src/dxl_hal.c file from the SDK with this version that correctly communicates with the USB2AX adapter.
  • I ran make in the DXL_SDK_LINUX_v1_01/src folder to compile the libraries.
  • I ran make in DXL_SDK_LINUX_v1_01/example/ReadWrite to compile a simple test example.
  • I connected a Dynamixel MX-28T servo with ID 1 and Baud Rate 1 mbps to the PC via the USB2AX (the USB2AX adapter only communicates at 1 mbps, and the ReadWrite example expects a servo with ID 1 with 1 mbps).
  • I powered up the servo.
  • I added my linux user to the dailout group to have RW access to the USB2AX device (/dev/ttyACM*).
  • I ran the ReadWrite example and it worked!

The C source code of the ReadWrite example is quite tiny and shows the basics of the API which is simple to use.

Encendiendo el Servo Dynamixel MX-28T

Aún no he encendido los servos. Estos pueden ser conectados en cadena en un bus TTL de 3 cables (tierra, poder y comunicación TTL). Cada servo Dynamixel MX-28T tiene in controlador PID interno y tiene varios parámetros configurables y data disponible para lectura.

Haré la configuración de algunos servos Dynamixel MX-28T, a cada uno se le debe configurar un ID y la velocidad de transmisión a 1 Mbps para ser usado en el clon de DARwIn-OP. El ID de cada servo debe ser de 1 a 20 dependiendo de su posición en el robot según de indica en los manuales DARwIn-OP_Actuator ID y DARwIn OP Assembly Manual. El MX-28T viene preconfigurado de fábrica con ID = 1 y 57142 bps y no van a funcionar 2 servos conectados en cadena con el mismo ID.

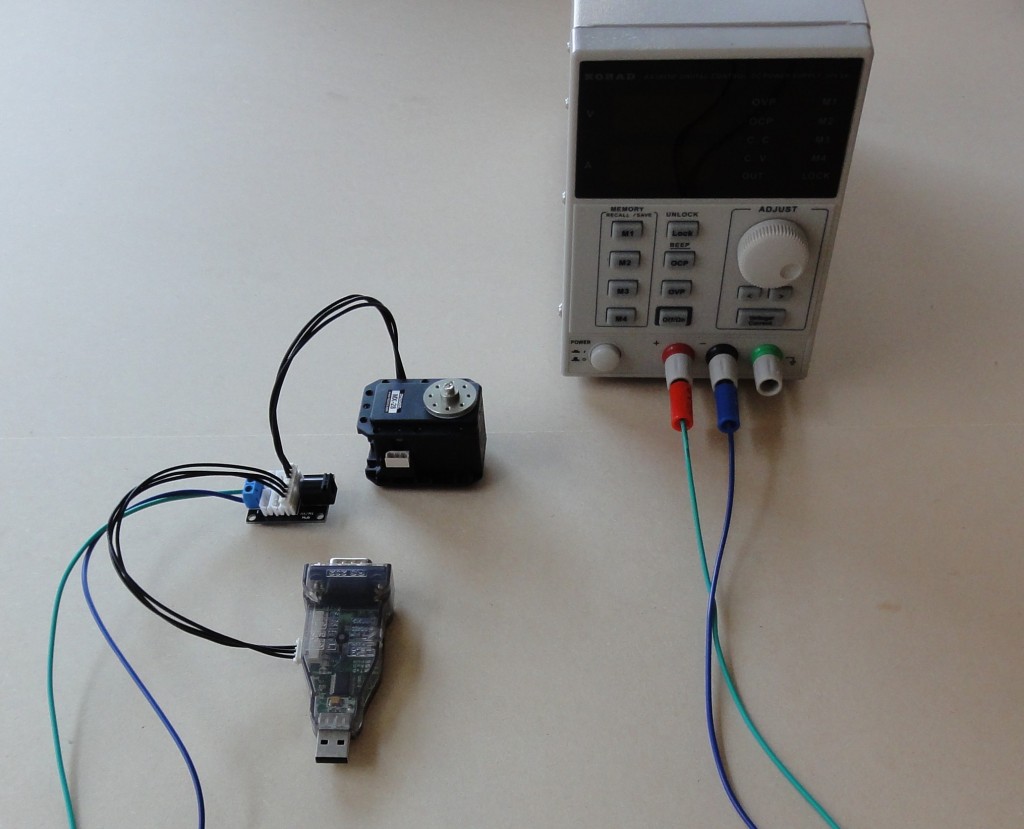
Tengo un Hub de Poder para el bus Dynamixel TTL y algunos cables. El cableado es simple: fuente de poder (12V) al hub, un cable a un servo y un cable al adaptador USB USB2Dynamixel (con el switch del costado en modo TTL).

Servo Wired Up
Servo Cableado

Continue reading “Encendiendo el Servo Dynamixel MX-28T”

Powering Up the Dymanixel MX-28T Servo

So far, I haven’t powered up any servos. They can be connected in a daisy chain 3-wire TTL bus (ground, power, and TTL communication). Each Dynamixel MX-28T has an internal PID controller and has several configurable parameters and feedback data.

I’ll do the configuration of a few Dynamixel MX-28T servos, each should be setup with its ID and baud rate at 1Mbps to be used in the DARwIn-OP clone. The ID for each servo should be from 1 to 20 depending on its location in the robot, as listed in the DARwIn-OP_Actuator ID doc or the DARwIn OP Assembly Manual doc. They come factory programmed with ID = 1 and 57142 bps baud rate and it won’t work to daisy chain 2 servos with the same ID.

I got a Power Hub for the Dynamixel TTL bus and wires. The wiring is simple: power supply (12V) to the hub, one connection to a servo, and one connection to the USB2Dynamixel USB adapter (switched to TTL mode on the side).

Servo Wired Up
Servo Wired Up

Continue reading “Powering Up the Dymanixel MX-28T Servo”